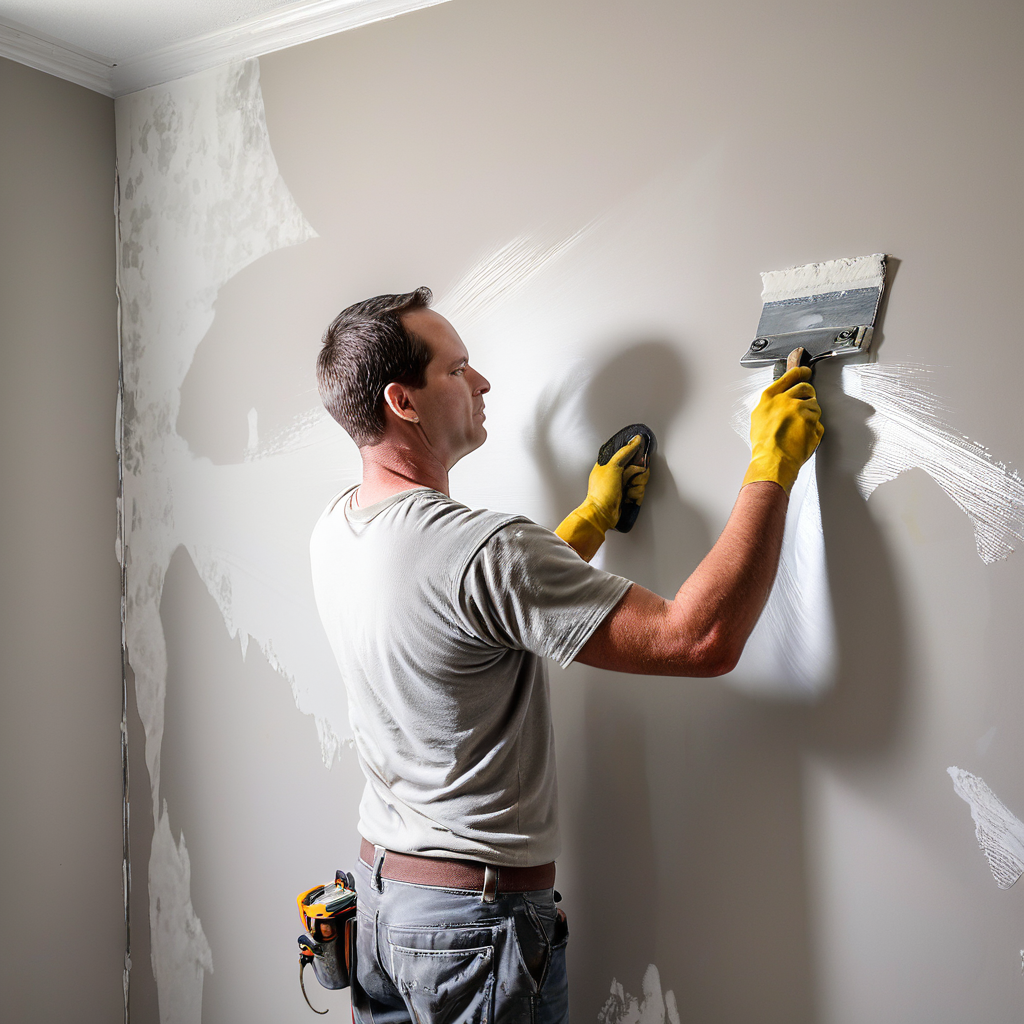
Skim coating drywall is a technique used to create a smooth and uniform surface on walls or ceilings by applying a thin layer of joint compound or mud. This process is commonly used to repair imperfections, hide texture, or prepare surfaces for painting or wallpapering. While skim coating may seem daunting to beginners, with the right tools, materials, and techniques, achieving professional-looking results is within reach. In this article, we explore the step-by-step process of skim coating drywall to help you master this skill and transform your walls into flawless canvases.
1. Preparation:
- Before starting the skim coating process, ensure that the drywall surface is clean, smooth, and free of dust, debris, or loose particles. Repair any cracks, holes, or imperfections in the drywall with joint compound and allow it to dry completely before proceeding.
2. Tools and Materials:
- To skim coat drywall, you will need a few essential tools and materials, including:
- Joint compound or mud
- Taping knife or drywall knife
- Mud pan
- Sandpaper or sanding sponge
- Primer (optional)
- Paint roller or brush (if painting)
3. Mixing the Joint Compound:
- Start by mixing the joint compound or mud in a mud pan to achieve a smooth and creamy consistency. Add water gradually and mix thoroughly until the compound is easy to spread but not too runny.
4. Applying the First Coat:
- Using a taping knife or drywall knife, apply a thin layer of joint compound to the drywall surface in smooth, even strokes. Work in small sections, feathering the edges to blend the compound seamlessly with the surrounding areas. Allow the first coat to dry completely before proceeding to the next step.
5. Sanding and Smoothing:
- Once the first coat is dry, lightly sand the surface with fine-grit sandpaper or a sanding sponge to smooth out any imperfections, bumps, or ridges. Wipe away dust with a damp cloth or tack cloth before applying subsequent coats.
6. Applying Additional Coats:
- Repeat the process of applying thin coats of joint compound, feathering the edges, and allowing each coat to dry before sanding and smoothing the surface. Depending on the desired finish, you may need to apply multiple coats to achieve a smooth and flawless result.
7. Final Touches:
- After applying the final coat and allowing it to dry completely, sand the surface one last time to ensure a smooth and uniform finish. Wipe away any dust or debris before priming and painting the walls for a polished look.
8. Tips for Success:
- Work in small sections to maintain control and achieve even coverage.
- Use long, smooth strokes when applying the joint compound for a seamless finish.
- Keep the taping knife clean and free of dried compound to prevent streaks or bumps.
- Allow each coat to dry thoroughly before sanding or applying additional layers.
- Practice patience and precision to achieve professional-quality results.
Skim coating drywall is a rewarding skill that can transform your walls and ceilings into smooth, flawless surfaces ready for painting or finishing. By following these steps, utilizing the right tools and materials, and practicing proper techniques, you can master the art of skim coating and elevate the look of your living space with professionally finished walls that exude quality and craftsmanship.
Cedar Hill St. Louis Jefferson County Olivette Kirkwood Ballwin Arnold Franklin County St Charles County Fenton High Ridge Dittmer Creve Coeur
