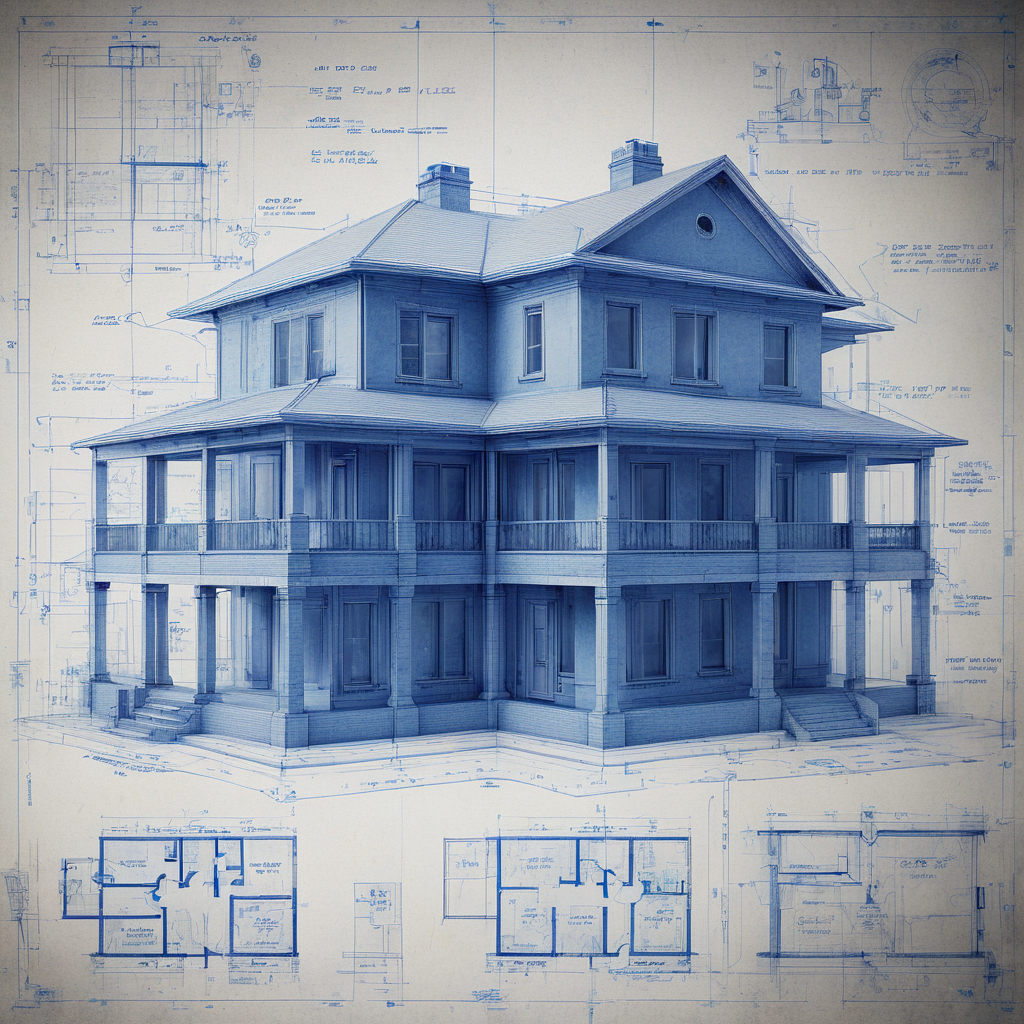
Building a home on your own land is an exciting and fulfilling venture, but it requires careful planning, a clear understanding of the process, and a substantial investment of time and resources. Whether you dream of a cozy cottage or a sprawling estate, this guide will walk you through the essential steps to turn your vision into reality.
1. Initial Planning and Research
Assess Your Land
Before you start building, it’s crucial to evaluate the piece of land you own. Consider the following:
- Zoning Laws and Regulations: Research local zoning laws to ensure your intended use of the land is permitted.
- Environmental Concerns: Check for any environmental restrictions or requirements, such as wetlands or protected species.
- Topography: Understand the lay of the land, including soil composition, drainage, and any potential natural hazards.
Define Your Budget
Determine a realistic budget for your project. This should include:
- Land preparation costs
- Construction costs
- Permits and fees
- Utility connections
- Contingency funds for unexpected expenses
2. Design and Blueprints
Hire an Architect or Designer
Engage a professional to help translate your ideas into detailed blueprints. An architect can:
- Incorporate your needs and preferences
- Ensure the design complies with local building codes
- Maximize energy efficiency and sustainability
Obtain Necessary Permits
Check with your local building department to secure all required permits. This can include:
- Building permit
- Electrical permit
- Plumbing permit
- Environmental permits
3. Financing Your Project
Explore Financing Options
If you don’t have the full amount saved, consider financing options such as:
- Construction loans
- Home equity loans
- Personal savings
Secure Financing
Once you’ve chosen a financing option, work with your bank or lender to secure the necessary funds.
4. Site Preparation
Clear the Land
Remove any trees, rocks, or debris that may interfere with construction.
Level the Site
Ensure the building site is properly graded to provide a stable foundation and proper drainage.
5. Building the Foundation
Choose the Type of Foundation
Work with your contractor to select the appropriate foundation type, whether it’s a slab, crawl space, or full basement.
Lay the Foundation
This involves:
- Excavating the site
- Setting forms and rebar
- Pouring and curing the concrete
6. Framing and Roofing
Erect the Frame
The frame is the skeleton of your home, consisting of walls, floors, and roof trusses.
Install the Roof
Once the frame is up, the roof is installed to protect the interior from the elements.
7. Utilities and Systems
Electrical and Plumbing
Get licensed professionals to install electrical wiring and plumbing systems.
HVAC Systems
Install heating, ventilation, and air conditioning systems to ensure comfort and efficiency.
8. Interior and Exterior Finishes
Insulation and Drywall
Insulate walls and ceilings, then cover them with drywall.
Flooring and Painting
Install flooring materials and apply paint to walls and ceilings.
Exterior Siding and Landscaping
Finish the exterior with siding, brick, or stucco, and plan your landscaping for curb appeal.
9. Final Inspections and Moving In
Conduct Final Inspections
Local building inspectors will need to sign off on the completed work to ensure it meets all codes and regulations.
Obtain a Certificate of Occupancy
Once all inspections are passed, you’ll receive a certificate of occupancy, allowing you to move in.
10. Enjoy Your New Home
Congratulations! You’ve built your home. Now it’s time to move in, decorate, and enjoy the fruits of your labor.
Building a home on your own land is a rewarding process that allows for personalization and control over every aspect of construction. While it can be complex and challenging, careful planning, professional assistance, and diligent oversight can help ensure your project is successful. Happy building!
Cedar Hill St. Louis Jefferson County Olivette Kirkwood Ballwin Arnold Franklin County St Charles County Fenton High Ridge Dittmer Creve Coeur
